Sprint Car Shock Setup Guide: A Repeatable Tuning Process

Shock tuning breaks down when the car won't repeat. When that happens, every adjustment becomes noise instead of feedback. You think you fixed something, then the track changes and the same clicker move that worked five minutes ago does nothing. That's not a setup problem. It's a consistency problem.
This guide is built around one idea: establish a foundation you can trust, then build a process you can repeat week to week. We'll start with baseline setup and how to lock it in. Then we'll move through track transitions tacky, heavy, slick and how shocks respond differently to each. Finally, we'll walk through the problems you actually see at the track: tight in, too free, won't take a set, skates on chop, and no drive.
No magic numbers. No "run this and win." Just a process that makes your changes stick and your feedback clean.
Browse Penske's Sprint Car collection for shock products and components.
Sprint Car Shock Basics
A shock has three jobs on a sprint car: it holds platform, manages traction, and controls impact. Those three things happen simultaneously through every corner, and they show up differently depending on track grip, driver aggression, and where you are in the turn.
When a driver says the car is "tight" or "free," they're feeling one of those three getting out of balance.
Compression and Rebound Explained
Compression happens as the suspension is moving up when the car hits a bump, loads into the corner, or takes a set under throttle. On a sprint car, compression is your platform and support. Too much and the car feels harsh, won't stay connected on chop, and skates. Too little and it feels lazy, rolls over too far, and takes forever to settle.
Check out Penske's How to Properly Use a Penske Shock Tuning Guide for more on compression tuning.
Rebound happens as the suspension is extending when the car is trying to come back up after a set, or when the tire is trying to stay loaded while the chassis transitions. This is everything about how the car "stays under" the driver through the middle and on exit. Too much rebound and the car feels stuck, slow to transition, and won't free up. Too little and it feels loose, busy, and the tire never really plants.
The key: compression and rebound aren't front and rear. They're tools that change how the tire gets loaded and unloaded through the corner. The same clicker change that works on a tacky track can be completely wrong when it slicks off, because you're asking the shock to do a different job.
Low-Speed and High-Speed Damping Tuning
"Low-speed" and "high-speed" refer to shaft speed how fast the shock is moving through its stroke.
Low-speed damping controls chassis attitude: how the car takes a set on entry, how it holds that attitude in the middle, how it transfers load under throttle. When a car feels like the platform is wrong, rolls too much, pitches too much, takes too long to set, or feels inconsistent lap to lap, you're in low-speed territory.
High-speed damping controls impacts: bumps, chop, curb hits, holes, sharp surface changes. When a car feels like it's skipping across the top, skating over chatter, or getting knocked off line by small impacts, you're in high-speed territory.
At the track, remember this: platform and balance live in low-speed. Impact and compliance live in high-speed. They can overlap, but this keeps you from making the wrong kind of change when you're trying to solve a specific problem.
Learn more in Penske's guide on Race Suspension Tuning Basics.
This is why shocks matter more than most teams think. Springs and bars set the car's potential. Shocks determine how consistently you can access that potential, especially when the track is changing and grip is on the edge.
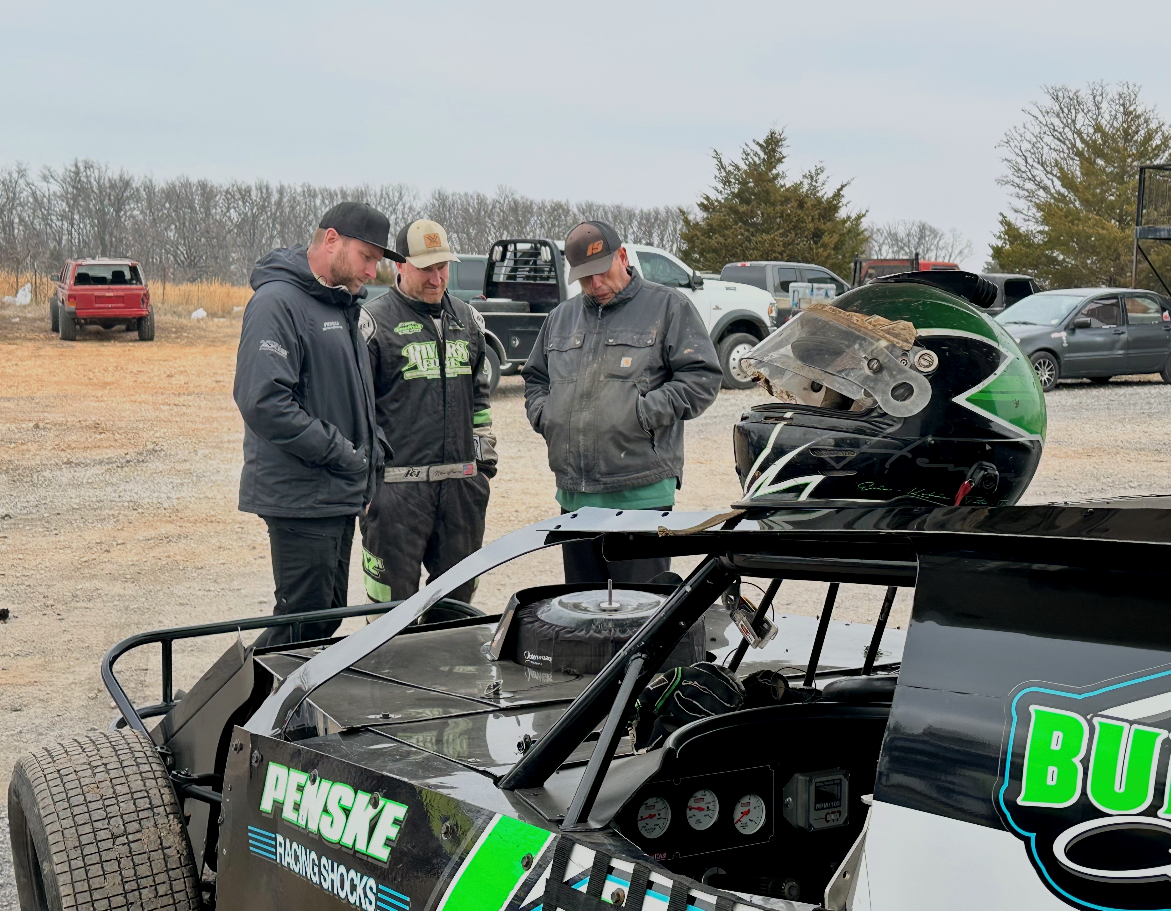
Sprint Car Shock Setup and Baseline
The baseline isn't about being perfect. It's about being repeatable. You need a known starting point you can return to, and a routine that keeps the car from lying to you when conditions shift.
Before You Touch Anything: Non-Negotiables
If anything is binding, if the shock is living in the wrong part of the stroke, or if tire and bar changes are happening without being controlled, the car will feel different for reasons you can't track. That's when teams chase instead of tune.
Check free movement first. Nothing hanging up, nothing rubbing, nothing creating friction that the shocks have to fight. Sprint cars are sensitive enough that small bind shows up as big inconsistency.
Penske's resource on 10 Ways to Completely Sabotage Your Race Car Setup covers common maintenance mistakes that kill consistency.
Verify travel next. A lot of "tuning" problems are really travel problems. If you're topping, bottoming, or running in a part of the stroke you didn't intend, the car won't respond cleanly to adjustments. You need to know where each corner is in travel so you're not blind.
Treat tires and bars as primary variables, not background noise. Tire pressures and stagger swing balance hard. Bar changes swing the car hard. If you're changing bars and shocks at the same time, you don't learn which one fixed it.
Write everything down. Track state, tire notes, stagger, bar changes, shock settings, driver feedback tied to entry/middle/exit. If it isn't recorded, it's guesswork next weekend.
Use Penske's Shock Build & Setup Worksheet. It's built to capture the variables that actually move a sprint car so you can compare runs instead of guessing.
How to Build a Baseline
Start from a known cold baseline. If you're tuning in the trailer before the car hits the track, your baseline is already moving before you collect any feedback.
Don't judge the car off the first couple laps. Get the tires warm, let the track show what phase it's in, then figure out what you're actually trying to solve: platform, traction, or impact. The goal isn't to be slow. It's to keep decisions clean.
Think about roles. The front influences how the car takes a set and how predictable the platform is when load first hits on entry. The rear influences how the car stays loaded and converts grip into side bite and forward drive. You're not tuning "front shocks" and "rear shocks." You're tuning how the car loads and releases the tires through the corner.
Neutral doesn't mean perfect. It means predictable. A neutral baseline takes a set on entry without snapping or feeling lazy, holds the middle without skating or hopping, and drives off with forward bite instead of getting edgy when throttle comes in. When you're close to that, shock changes show up clearly because the feedback isn't muddy.

What to Log Every Session
Keep it simple: track condition, tire pressures and stagger, any bar or indexing changes, exact shock settings and what you changed, driver feedback tied to entry/middle/exit. That's enough to build a record you can trust, and that record keeps you from starting over every weekend.
Sprint Car Shock Tuning for Track Conditions
Once the baseline is controlled, track transitions get easier because the car's feedback gets cleaner. The mistake is treating "slick" and "tacky" like fixed recipes. The track can change three times in one night. You need a change order that matches what the surface is actually doing.
Understanding how your suspension responds to different track conditions is critical to staying competitive.
One rule: don't stack changes. If you change shocks, bars, and tires at once, you might get lucky, but you won't learn anything. Make a change, verify the response, then move on.
Slick Track Shock Setup
On a slick track, the goal is keeping the tire connected without making the car lazy. Most teams fight the same two complaints: it won't stay hooked in the middle, and it won't drive off without stepping out.
Separate the problem before you touch anything. If it's skating on ripples or chop, you're fighting compliance. Fix that without changing platform. If it's lazy or won't rotate, you're fighting platform and balance. Fix that without making it harsher.
This is where independent high-speed and low-speed adjustment pays off. The most common mistake on slick is throwing compression at the whole car when the issue is really that the tire can't stay connected in one phase of the corner.
Tacky Track Shock Adjustments
On a tacky or heavy track, grip is available. The job shifts from "find bite" to "control bite." If the platform isn't controlled, the car gets reactive because it's blowing through travel, rolling over too far, or changing attitude mid-corner.
Target is simple: the car takes a set clean, stays in that set, and drives off without a big attitude change when throttle comes in.
If the car is blowing through travel or rolling over, your first move is usually tightening platform control without turning the car harsh. If it starts feeling harsh or won't stay loaded, that's a sign you overcorrected and gave up compliance. This is where a wide, usable adjustment range matters because you can make smaller, more controlled moves instead of guessing.
Heat to Feature Transition
Most nights are decided in the transition. Hot laps can be heavy, heats can be halfway there, and the feature can be slick with a narrow grip zone. Teams give races away by reacting to what the car did last run instead of what the track is becoming.
Between the heat and the feature, make changes that match the trend of the surface. Leave enough alone that you can tell what worked. If the car feels inconsistent during the run, confirm the foundation first (travel, pressures, bind) before you assume it's a clicker problem.
When the track is mid-transition, smaller moves work better than big swings. One-click changes teach you more than three-click guesses, especially when you're not sure which direction the surface is headed. Keep notes tight and tie every change to what the track did, not just what the car felt.
Winged vs. Non-Wing
Wing adds load and changes when the tire gets loaded and unloaded. Non-wing relies more on mechanical grip and usually shows problems faster because you can't lean on aero. The same shock change can show up differently because the car is being loaded differently.
Sprint Car Shock Problems and Solutions
This is the trackside version. The goal isn't to list every adjustment. It's to keep you from guessing by forcing one question first: is this a platform problem or a compliance problem? Make one change, verify it, and move on.
If you're running into issues, Penske's guide on What NOT to Do When Setting Up Your Racing Suspension covers the most common mistakes that teams make.
Before you touch clickers, do two sanity checks: make sure nothing is binding, and make sure you're not topping or bottoming.
Tie the complaint to a phase: entry, middle, or exit. If you can't answer when it happens, you can't fix it cleanly.
Entry Problems
Tight in / won't turn in
If it's a slow, lazy push that feels like the car won't take a set, treat it as platform first. If it's pushing because it's skipping across bumps on entry, treat it as compliance first.
The mistake is stiffening the car everywhere because it "won't turn," when the real issue is the tire isn't staying connected long enough to generate bite. Your first move should match the type of push.
Verify: does it accept load earlier and point with less steering input?
Too free on entry / snaps when load hits
That's load coming in too fast. Calm the initial set with one change and recheck. If you stack changes, you'll trade a snap for a push.
Verify: the driver turns in without catching it.
Won't take a set (floats or feels tall)
Confirm travel first. A shock in the wrong part of the stroke feels vague no matter what you do. Then make one platform-control move.
Verify: the car settles into the corner earlier instead of waiting to load.
Middle Problems
Skatey / chatters mid-corner
Treat this as compliance until proven otherwise. If the tire can't stay connected to the surface texture, the car will feel like it's skimming across the top and won't hold a line. The common mistake is tightening the platform to "control it," which usually makes skating worse.
Verify: it calms down over ripples and holds the line without that light, nervous feel.
Lazy / won't rotate in the middle
That's usually platform and balance, not impact. When the car is fully loaded and still won't change direction, you need to address how it's taking and holding set, not how it's reacting to bumps.
Make one platform-focused change, then verify: it rotates with less steering and feels like it's working in the center instead of plowing.
Cycling / bouncing through the middle
Cycling is the car taking a set, releasing it, and taking it again. It usually gets worse when teams overreact. Make one change aimed at slowing the cycle and recheck.
Verify: it settles and repeats lap to lap, especially as the track gets rougher and the tires heat up.
Exit Problems
Loose off / no side bite
If it's stable through the middle and then steps out when throttle comes in, focus on how the rear is staying loaded through pickup. Don't chase mid-corner balance if the problem only shows up on exit.
Verify: the driver can roll throttle on earlier without the car falling out from under him.
No forward drive
If the car feels "safe" but doesn't go, the tire isn't staying planted long enough to convert grip into drive. Treat it like a rear load-management problem and make one change that helps the car stay loaded through the first part of throttle.
Verify: it picks up and goes forward earlier, not just "feels safer."
Snaps on throttle application
This is usually the transition from cornering load to drive load happening too abruptly. Calm the transition with one change, then verify. Snaps are where teams tend to throw three big moves at it, and that usually just creates a different problem.
Verify: it accepts power progressively without a sudden attitude change.
When Changes Aren't Sticking
If the car feels different every run and adjustments don't line up, stop chasing. Recheck bind, travel, tire pressure drift, and whether multiple variables are changing between runs.
If the baseline is controlled and it still won't repeat, think about shock consistency: matching pairs, gas pressure, service interval, and shock condition. Tuning only works when the shocks deliver the same damping run after run.
Sprint Car Shock Adjustment and Advanced Tuning
Once the car is repeatable, advanced tuning is mostly about timing: how fast the car takes a set, how it holds the middle, and how it releases load on exit. Split strategies and multi-adjustables exist for this. They aren't magic. They're ways to target a specific phase without rebuilding the whole car.
Split and Reverse Split
Use it when the car is close but one phase is wrong. If it's good mid-corner but sketchy on entry, you're changing how it gets to the middle. If it's good mid but falls apart on throttle, you're changing how it releases load and transitions to drive.
Keep it phase-specific. Make one move at a time.
More Adjusters
More adjusters only help if they separate problems. Independent low-speed and high-speed adjustment matters when you need to fix compliance without moving platform, or tighten platform without making impacts harsher. If you're turning everything the same direction, you're not using adjustability. You're just changing the whole car.
Clickers vs. Valving
Clickers are for trimming within a known package. Valving is for when the range isn't there.
If you're living at the end of an adjuster every week to get the car where it needs to be, that's not a clicker problem. It's a shock package problem.
Translate Driver Feedback Into a Test
"Skating" usually points to compliance. "Lazy" usually points to platform and timing. "Different every run" points to baseline or consistency before it points to setup.
One change. One direction. One verification.
Sprint Car Shock Maintenance and Testing
Shock tuning only works if the shocks are consistent. If performance drifts or the car won't respond the same way twice, stop chasing and verify the basics.
Start with quick consistency checks: nothing binding, not topping/bottoming, tire pressures and stagger didn't move, you didn't stack variables between runs.
If the baseline is controlled and it still won't repeat, think shock condition: matching pairs, gas pressure, service interval, and wear.
Dyno Testing
Dyno testing tells you whether the shocks are actually doing the same thing. It turns "it feels different" into something measurable and keeps you from tuning around a shock that has drifted.
If you're not used to reading force-vs-velocity curves, start with Penske's How to Read a Shock Dyno Graph guide. If you want verification on your exact shocks, Penske's S-Link Dyno Services will show you what you have now and what changed after service.
When You Need Expert Help
When you're ready for a complete suspension overhaul or need expert guidance, Penske's S3 Process pairs you with a shock specialist who'll dial in your entire program from hardware selection through race day.
If you call Penske, have this ready: current shock specs and settings, track conditions, tire pressures and stagger, bar package changes, the exact symptom tied to entry/middle/exit, and what you already tried. That turns the conversation from guessing to problem-solving.
For additional tech sheets, service manuals, and tuning guides, visit Penske's Resource Library.